Lesson 5.1 begins Design Project #4 and we’re going back to our roots: InDesign.
Get it? “Roots?”
Design Project #4 is about designing a newsletter, so we’ll be focusing on how to create long-form documents within InDesign.
Project Requirements:
Three pages (minimum)
Four complete stories (minimum) (Stories do not have to be original! In fact I *encourage* you to find stories that are listed in the news section of the company or organization website and adapt them to fit the newsletter.
Last, since we are transitioning from novice designers to more intermediate, the rubric is going to be slightly more geared towards design:
Design process (10 total points) Subject matter is well-researched, sketches are complete and show a variety of designs, several design solutions have been explored.
Layout (5 total points) Grids and guides have been used to create order and alignment, elements are aligned and spacing is clear.
Color (5 total points) Colors used support message of the brand, work well together and are consistent.
Design (15 total points) Format, proportion/scale, balance, contrast, harmony, focus, rhythm/continuity, unity, use of art (photograph, illustration, correct resolution), negative/white space, creativity.
Typography (10 total points) Appropriate style choices, type size, alignment, line length, leading. Legible. Appropriate for campaign.
Self-reflection post (5 total points) Blog post explains your newsletter and how you leveraged your knowledge of fundamental design concepts throughout the design. Students must embed the work in the post. Walk the reader through the conceptualization and design process.
Assignments for Lesson 5.1:
1. Choose a Fortune 500 company.
For this project, we are going to pick a large company. I want you to work on a larger organization so you have more materials to start with. A good company would be 1.) one that interests you (this is actually a really big one) 2.) has a newsroom on their website that you can use stories from 3.) has a good logo (check brandsoftheworld.com). One tip is to leverage filtering on the Fortune website to find a company within a specific industry that interests you.
What you’ll be turning in by the end of this lesson is what is called a dummy layout. A dummy layout is a term that simply refers to a document that has only placeholder text and images. They can look like this.
It may be beneficial to rewatch this video from Bootcamp:
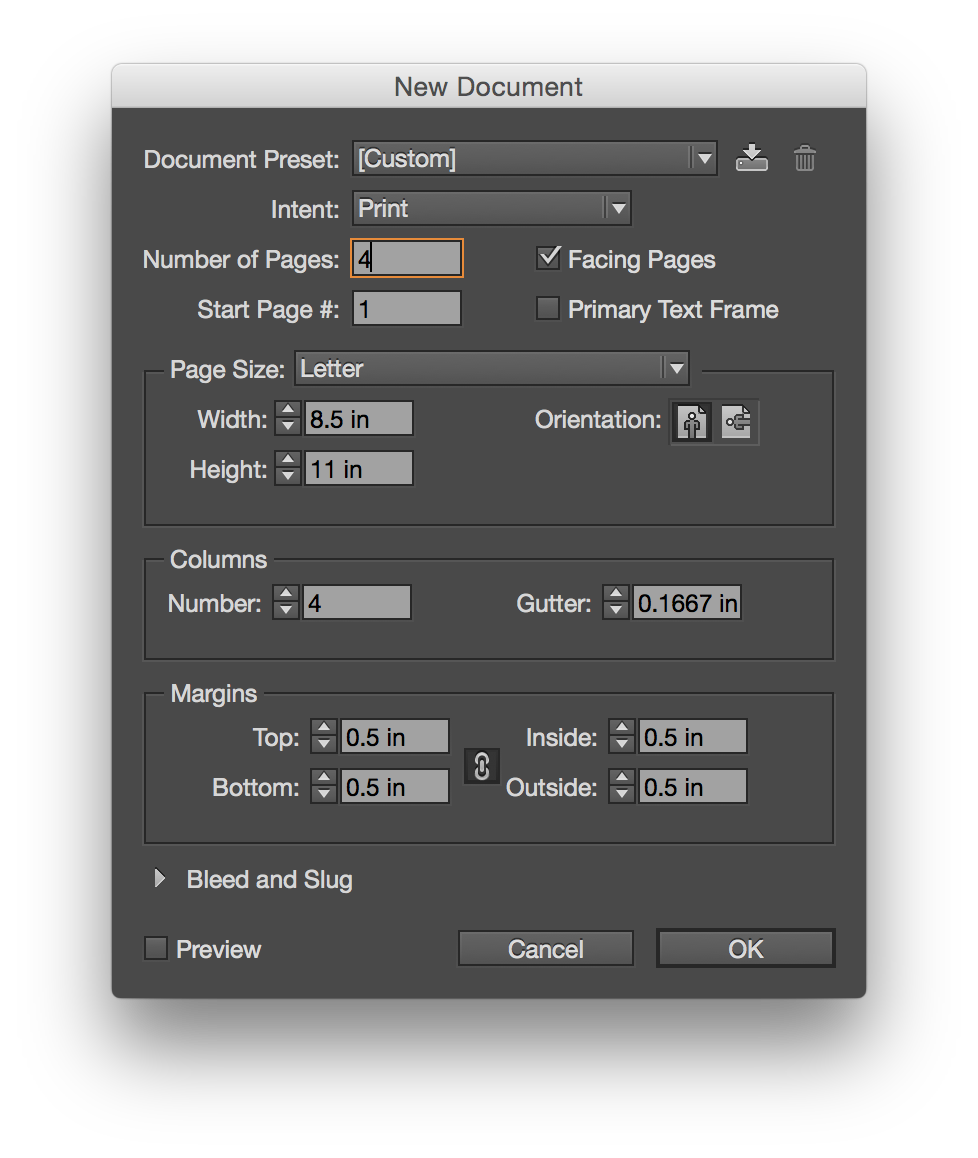
A sample InDesign dialogue box to get you started
You are required do a dummy layout this week for all of your pages. Your final design doesn’t have to stick to this, of course, but it will help you visualize specifically how long each article will have to be. Again, this is the only part of the newsletter that is due at the end of this lesson.
3. Begin to gather images, photos, and stories.
Start to acquire photos and stories which you can use for your newsletter. Remember: each article and photo needs to be attributed to the original author so make sure you are keeping that info. If you are struggling to find high quality photos from that company, you can use stock photos as well from free websites like http://www.stockvault.net or http://www.freeimages.com.
4. Read Chapter 4 of Designing for Emotion and write a blog post.
Write a blog post about Designing for Emotion. Beyond the usual contextualization that blog posts should have, simply answer these two questions:
1. What is one thing in Chapter 4 that you agree with?
2. What is one thing in Chapter 4 you disagree with?


